Halloween DIY: Butterfly Headpiece

-
Category
Fashion & Style

I loved my costume for Halloween last year, but this year I wanted to do something a little bit different! Last year I bought a costume (on the day of Halloween, sigh -- it was traumatic and intense and I have no interest in doing that again, ever) but this year, I had my heart set on doing a DIY project. I'm not usually much of a crafter, but I thought this project would be really fun!
I like my DIY projects the way I like my recipes: simple, easy, and generally pretty foolproof. I'd take a yummy cookie recipe or simple weeknight dinner idea over a hundred-step dish just about any day (although every once in a while, it's fun to try something challenging). So for this project, I wanted a DIY idea that was a little more my speed.
This wasn't my brainchild -- I based it on a Martha Stewart tutorial, but simplified it a lot. This only takes are few minutes and I think the results are adorable!
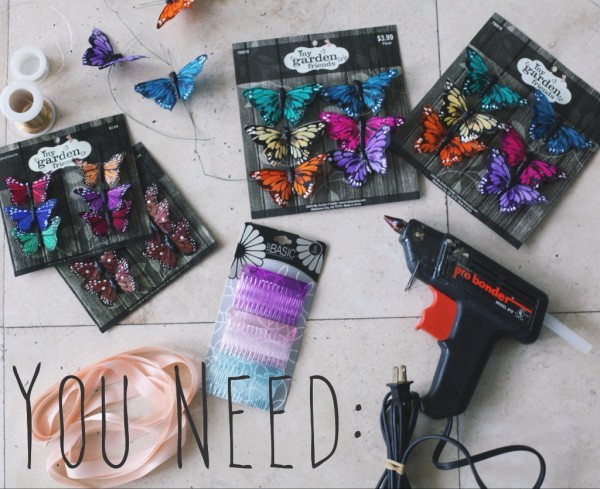
Here's what you need: Hair combs (I got mine at a dollar store, 6 combs for a whopping $1); crafting butterflies (I bought 24 but ended up using only 18), a glue gun, extra ribbon and wire. I already had the glue gun, ribbon and wire, so the total cost of this project for me was about $17.
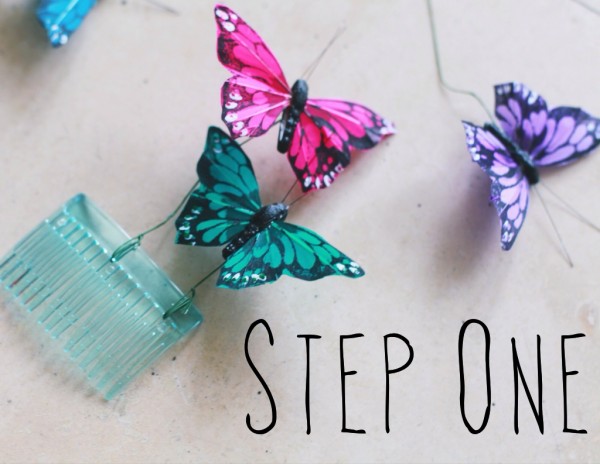
I told you this tutorial would be super easy: my butterflies came already attached to wire, so literally all I had to do was attach the wire to the hair combs by wrapping it tightly. If your butterflies don't come with wire, or if they fall off (as one of mine did), just re-attach them with a dot of hot glue from the glue gun.
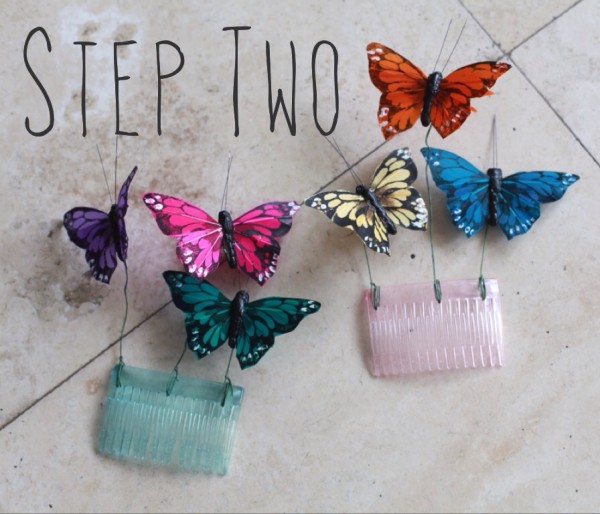
Spread the butterflies out at different intervals and different heights -- you don't have to be too picky about this, but make sure you have some variety. Remember that some of the crown will be going lower on your hairline, so you want to make sure they're still visible (and out of your eyes)! In total, I did five combs with three butterflies each.
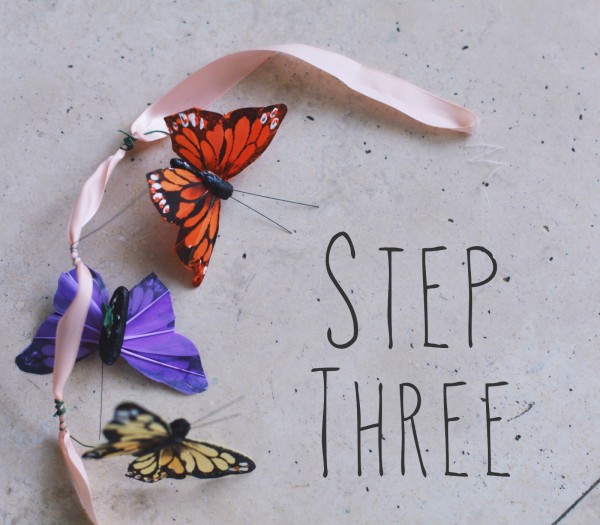
Last, attach a few butterflies at 1-2" intervals to a pink ribbon. Make sure to tuck in or clip any excess wire so it doesn't poke you! Wrap the ribbon around your neck and/or wrists, and place the combs in your hair. Arrange them until you have the shape that you want, and you're done!
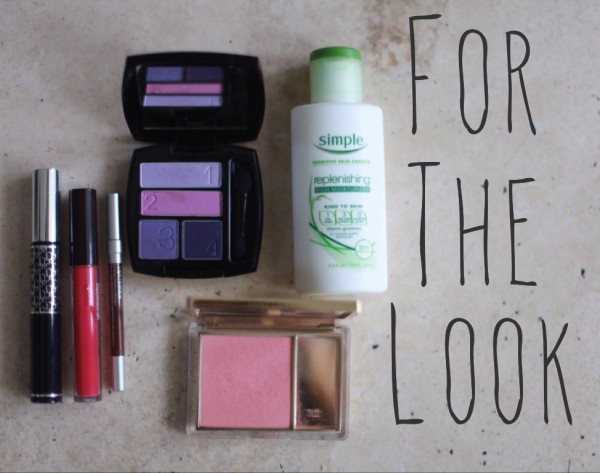
For my makeup in this look, I started with a freshly moisturized face using Simple Skincare Replenishing Rich Moisturizer, and then added a light foundation. I wanted the makeup to look radiant and luminous, so I stuck to colorful, feminine colors for my eyes and cheeks -- a purple shadow palette from Avon and pink blush from Estee Lauder. I lined my eyes with brown pencil liner before applying the shadow for some added definition, and finished the look off with mascara and a glossy bright pink lip!
And that's it! The finished product is below -- Happy Halloween, everyone!
